Update: I now have a handy printable for all your binding needs! Find it here in my shop!
Hi Everyone! This tutorial is the second in a series all about quilt binding. Here you will learn how to attach the binding to your quilt so that you can finish up your quilt!

Now that you have your binding ready to go, it’s time to put it on your quilt! Here you have two options – sew it entirely by machine, or hand-sew the second side. I personally sew it by machine onto the front first, and then stitch it by hand to the back. If you want to use your machine for both sides, it’s common to stitch it to the front first and the back last, stitching in the ditch along the front of the quilt. There’s really only one tricky part to these steps, and that is how to join the ends of your bias tape once you’ve gotten to the end.
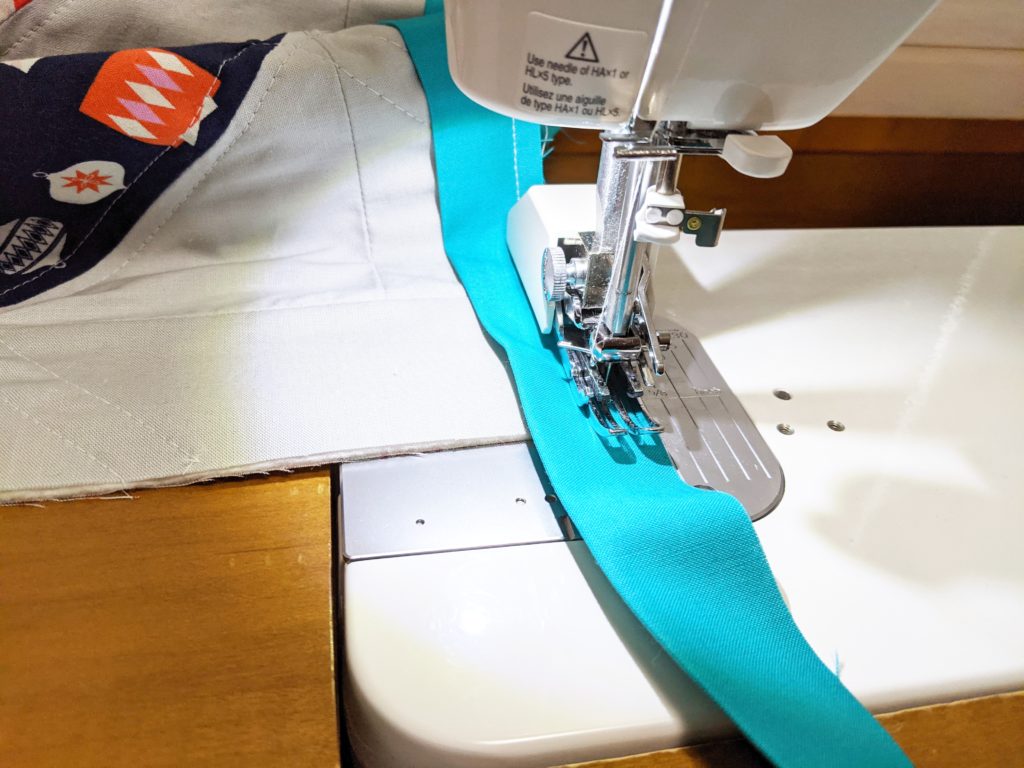
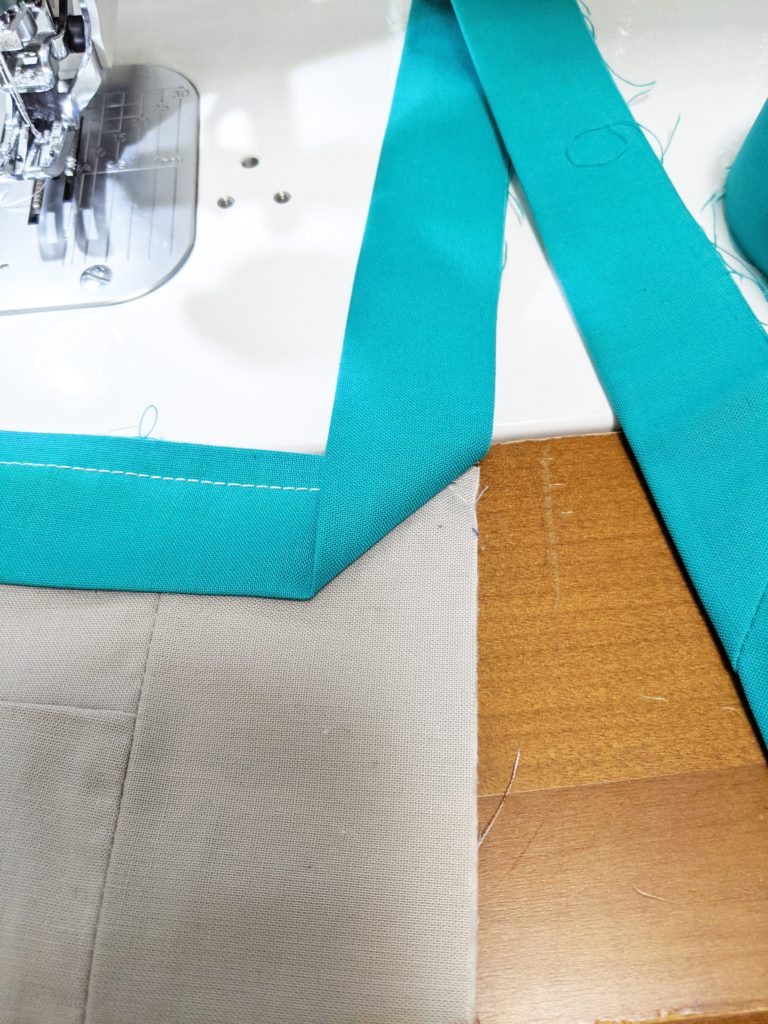
When you first start attaching the binding to one side, leave a good length of a tail (around 6″) unstitched when you start. You’ll need the extra space when joining your ends. Additionally, you’ll want to start in the middle of a side, not near a corner. Stitch your binding on with a walking foot using a heavy 1/4″ seam for the 2.5″ wide strips, and a scant 1/4″ seam for the 2″ wide strips, and when you get to a corner, stop 1/4″ away from the end. Back-stitch and trim your thread.
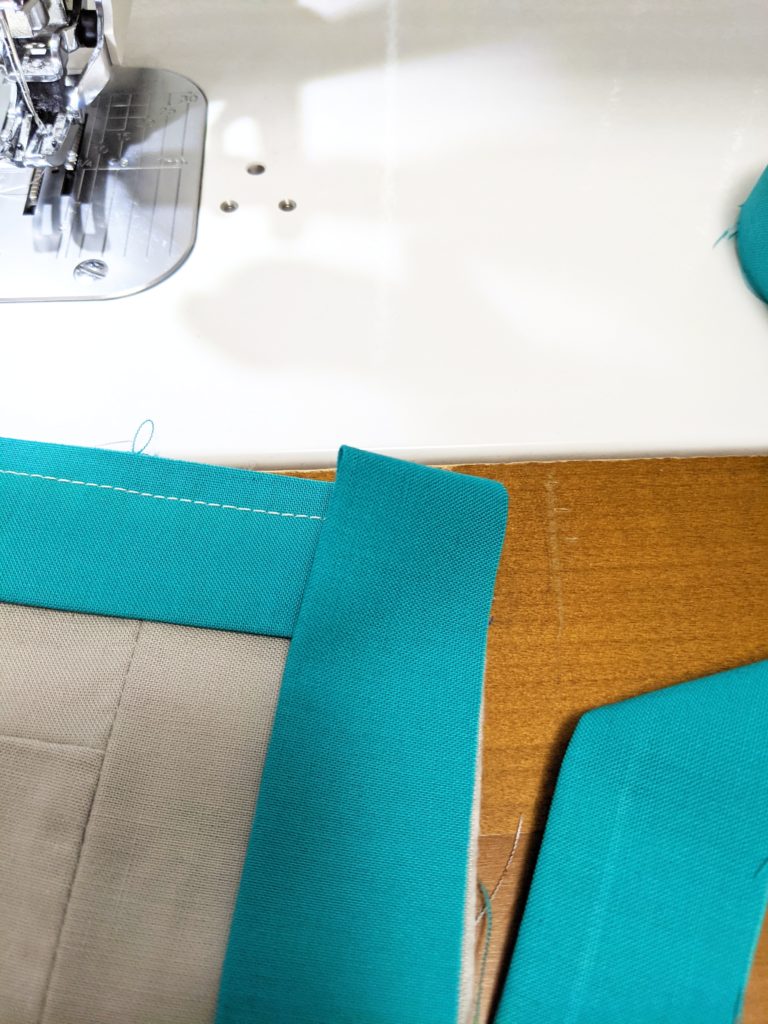
On the next side of the corner, start at the edge of the quilt.
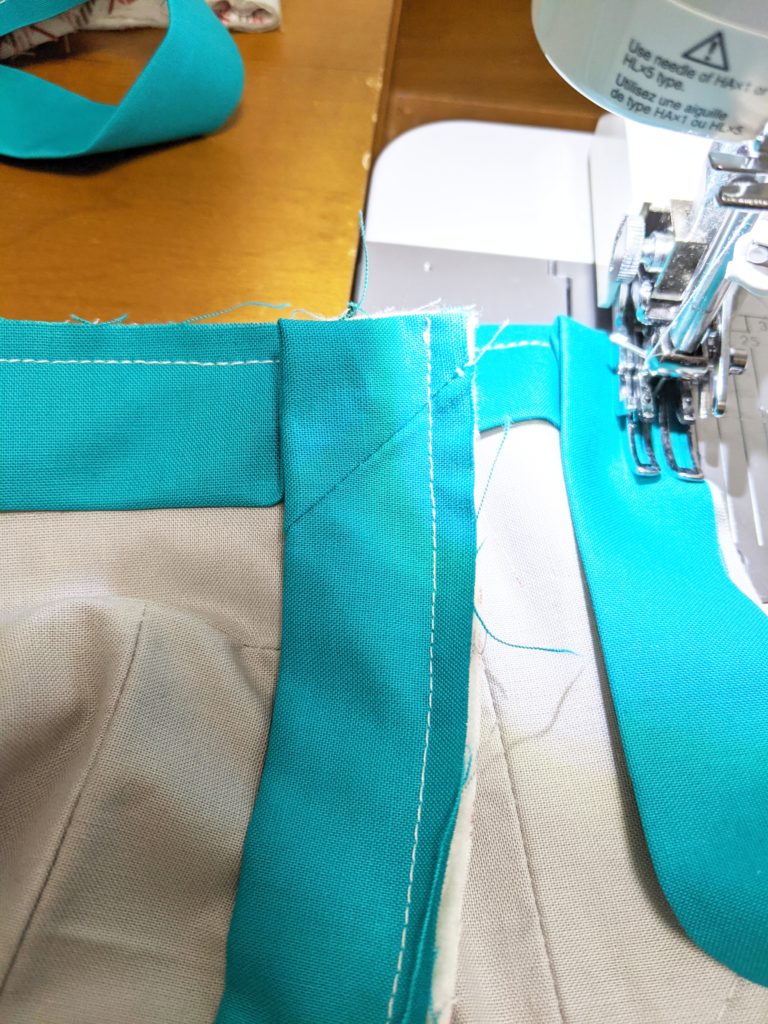
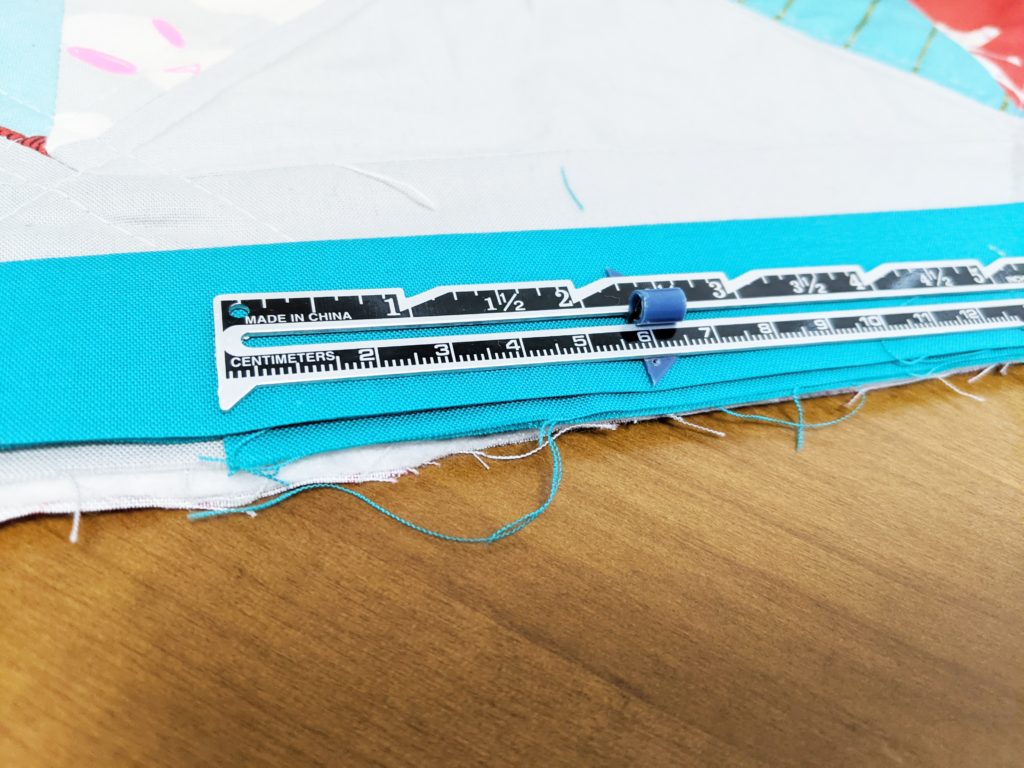
Continue until you’ve got all four corners stitched and you’re about 12″ away from the start of your stitching. Back-stitch and stop here. Overlap your ends and trim the longer end so that they overlap by 2.25″ if your strips were 2.5″ wide, or by 1.75″ if your strips were 2″ wide. I know it sounds like it’s going to be too short, but I’ve found that if I trim it to the width length, I end up with too much binding and it looks messy.
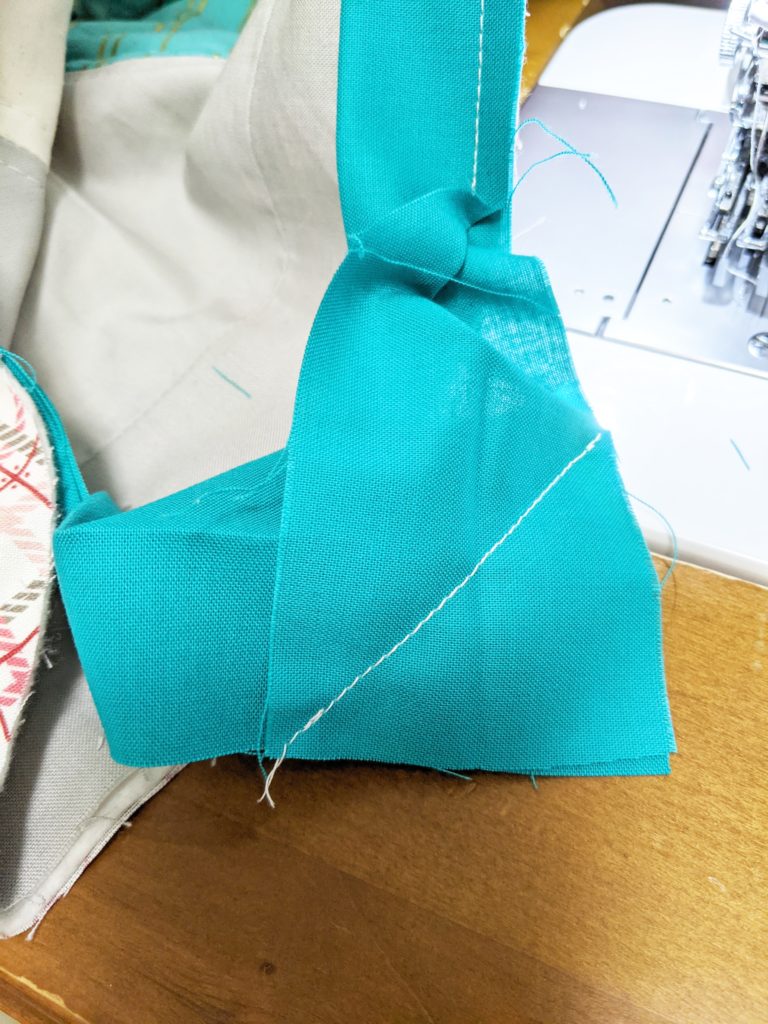
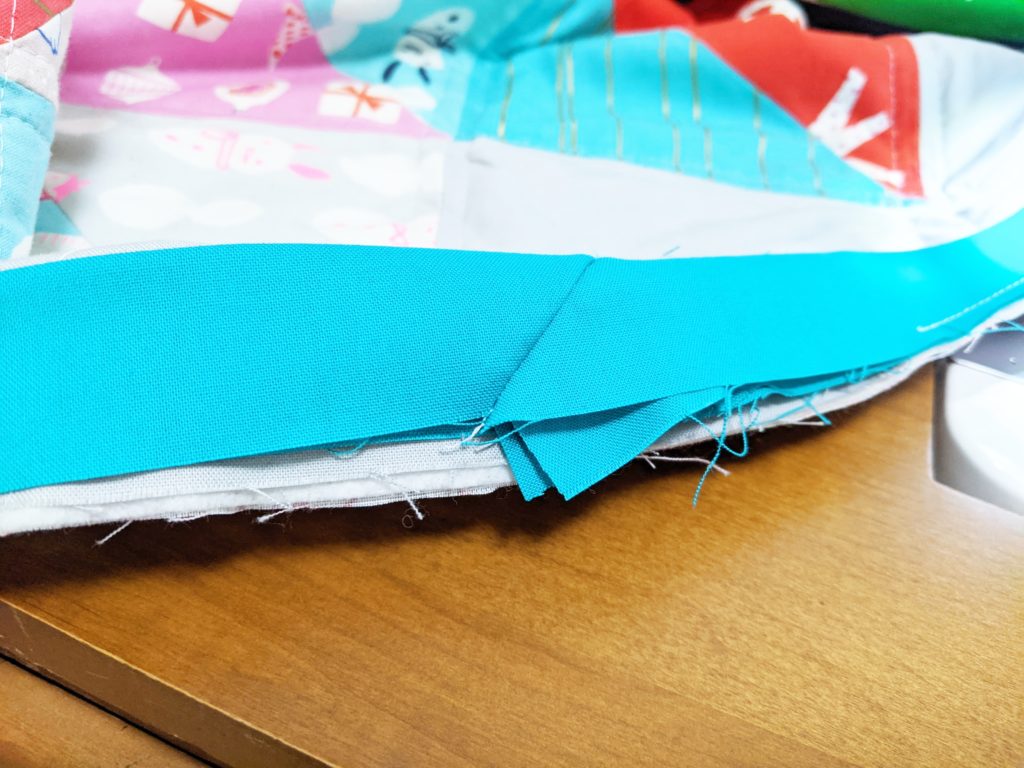
Next you will join your ends like in the picture below. Before you trim the excess fabric off, double check that you sewed in the right direction – I’ve messed this up more than once and had to re-sew the line. Once you’re sure it’s right, trim the excess fabric off and finger-press the seam to one side. Now you can finish applying the binding to your first quilt side, backstitching again at the beginning and end.
Now that you’re set on one side, you can either hand-stitch it to the back side, or machine-stitch it by stitching in the ditch. It’s up to you! I personally really enjoy hand-stitching binding on. It’s probably my favorite part of making a quilt. For hand-stitching, use a ladder stitch to attach your binding to the back of the quilt. For machine-stitching, keep the top on top and use Clover clips to hold the binding onto the back of the quilt. Stitch in the ditch using your walking foot to attach the binding to the back of the quilt.
I hope these tutorials were helpful. Happy binding!

2 Responses